All,
I had the Sherline initiation ceremony this evening. While I’m a novice, I can certainly say that it is a fantastic machine to use.
I worked on some 1/8 inch solid brass bar, which will be used for the axlse. The axels need to be 1/8 inch to fit into the High Level Kits standard size bearings.
However, a shoulder will be machined on the axle stubs for the wheel centre to be pushed on to (ie 2.5mm in diameter to represent the prototypical 8.5 inch seat on the face of the wheel).
For its part, the Sherline worked a treat. I actually managed to quickly and accurately create the 2.5mm seat, and push on a wheel centre. The shoulder was slightly larger than 1.6mm and the seat was equally under size Nonetheless, I was amazed at how quickly this was achieved.
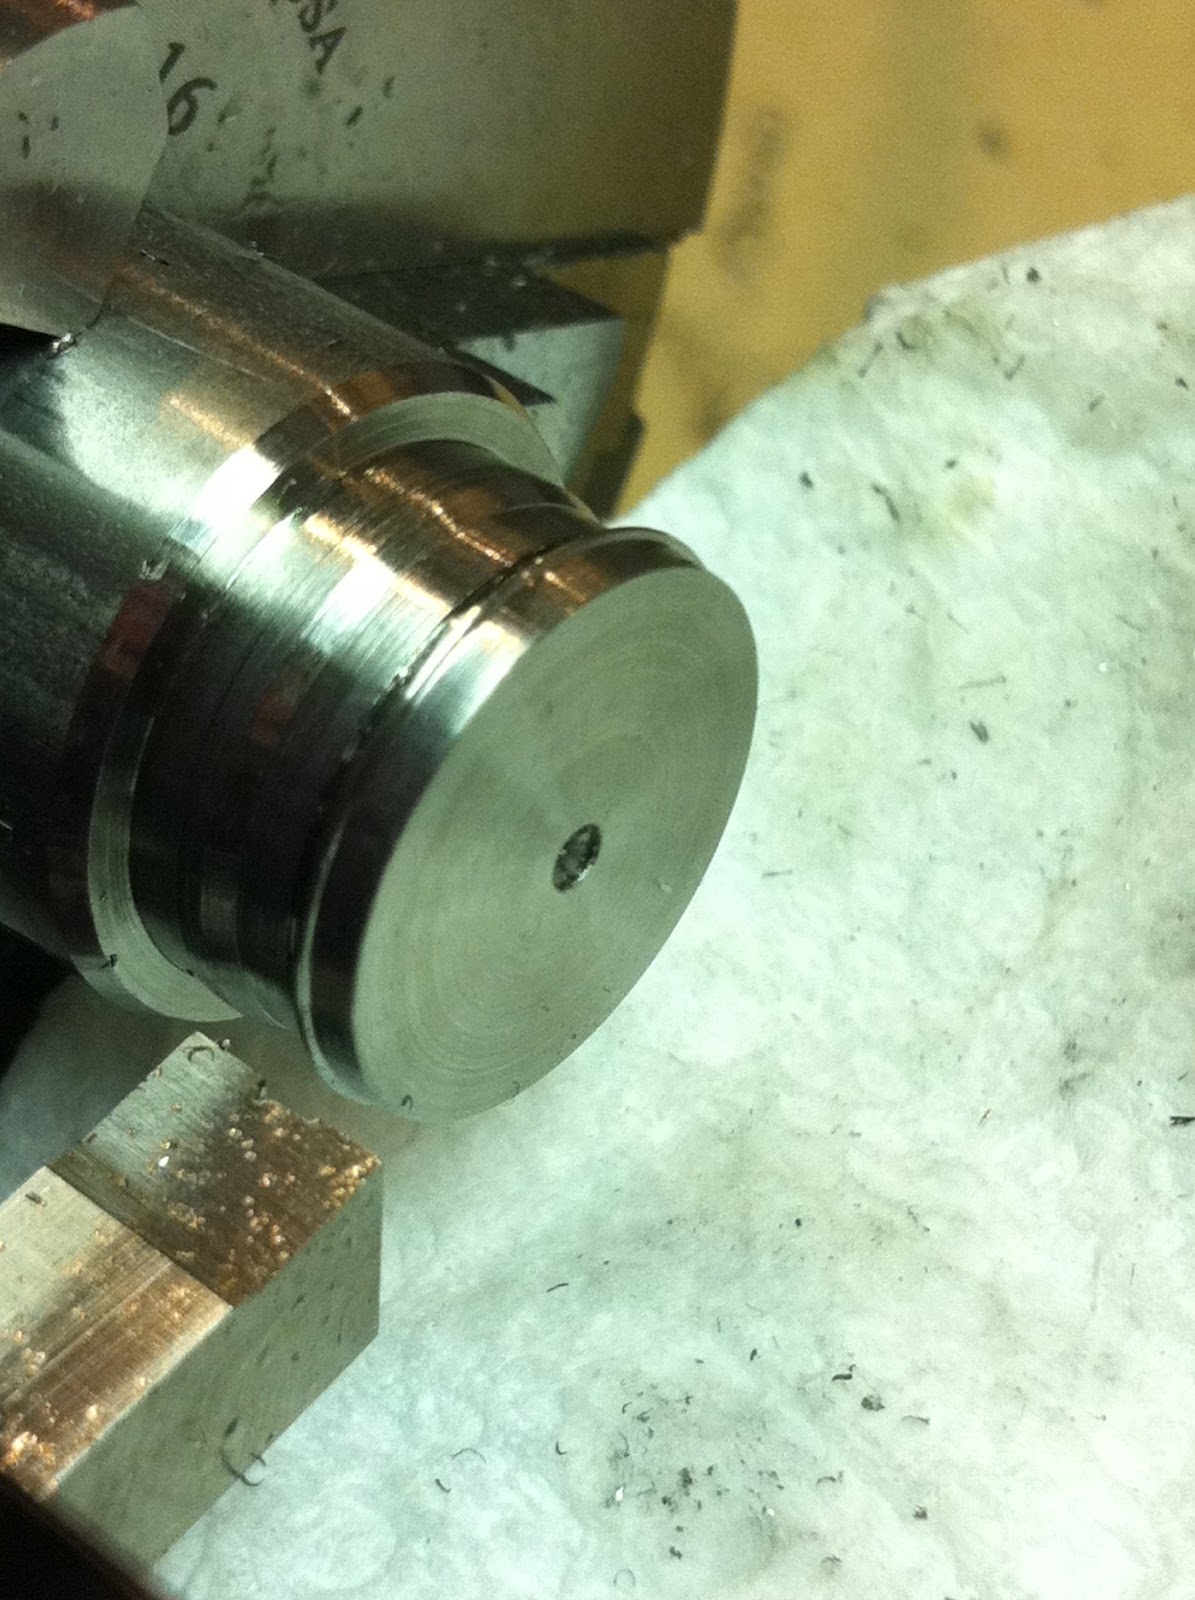
I purchased some ¾ inch stainless steel solid bar this evening, which will be machined into tires. I’ll turn my attention to these after I receive the P87 for tool from Australia and the axles are fabricated.
Julian


.jpg)


.jpg)
.jpg)


.jpg)
.jpg)

.jpg)


